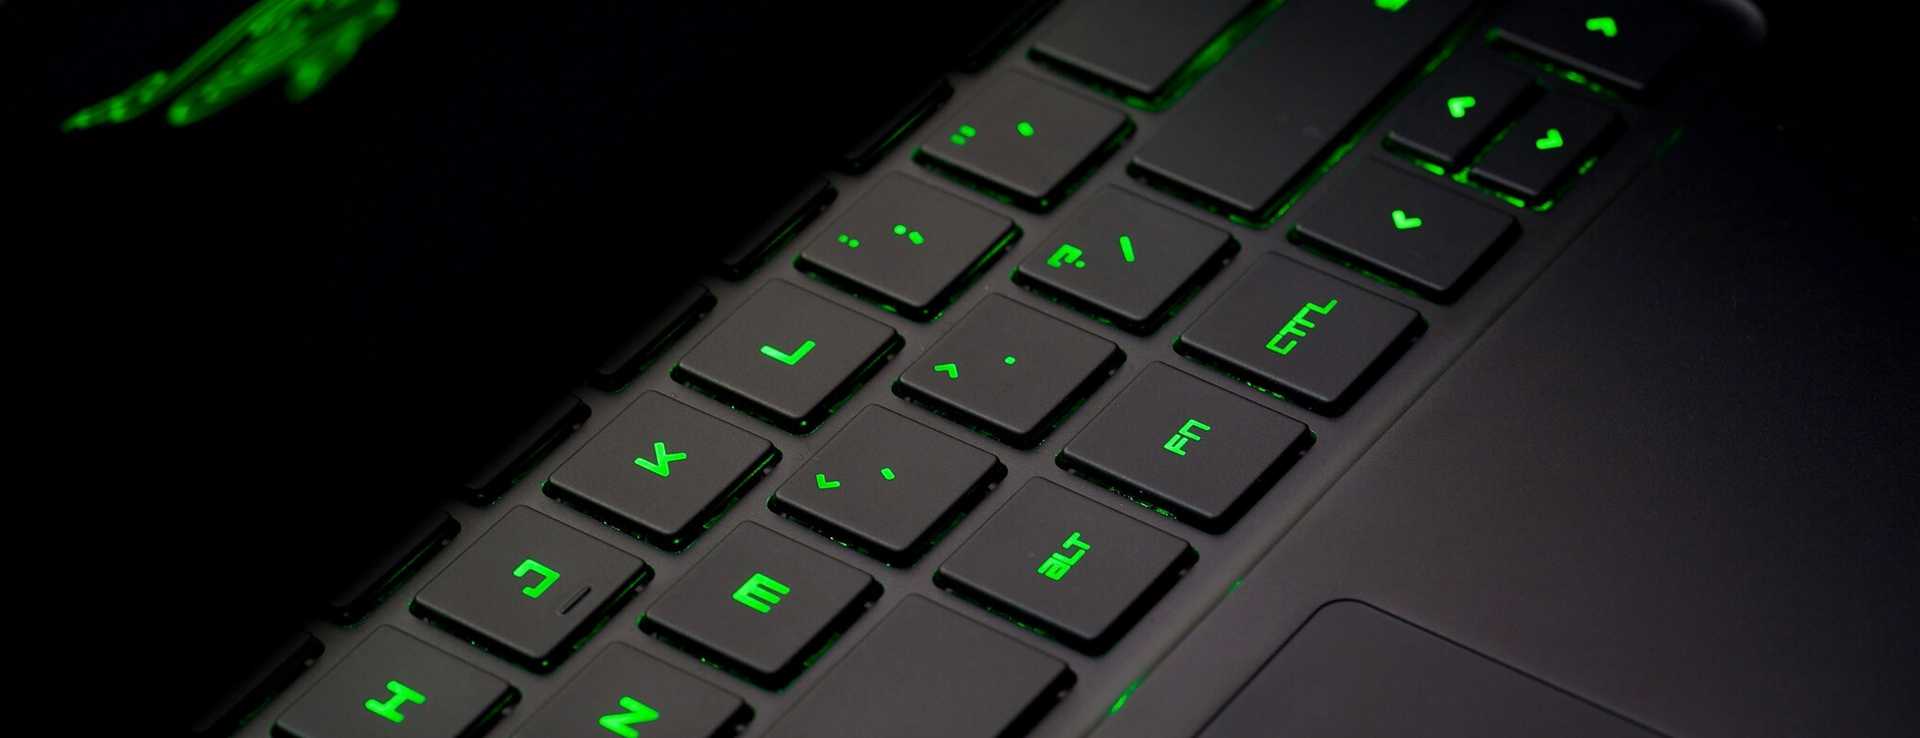
When upgrading the SSD on my 2015 Razer Blade, I found many inquiries, yet limited resources on the topic. As a result, I figured I would make this guide seeing as the process was fairly straight–forward and the results were both beneficial and cost-effective.

Choosing your Drive
If you’ve already chosen your new SSD you can skip ahead to Step One, but for those of you who haven’t I thought I’d provide you with a few notable options. I personally chose to upgrade my original 256gb SSD to a 500gb Samsung 850 EVO as they can be found affordably online and provide a performance increase over the stock SSD. Yet, I also know others who have had success with the Crucial M550 series of hard drives as well.
Supplies:
- M.2 SATA III SSD
- M.2 SATA III SSD enclosure & adapter
- Macrium Reflect Free
- T5 torx screwdriver
- Compressed air (optional)
Step One: Backup your data
Before you get started, make sure you backup all of your data if you haven’t already. We’ve all made this mistake — and we’ve all felt like an idiot afterward. **Trust me**. There are plenty of [free options](https://www.lifewire.com/free-backup-software-tools-2617964) available, so there’s no reason to skip this essential step.Step Two: Prepare the new hard drive
Now, you’re going to insert the new M.2 SATA III SSD into the hard drive enclosure. I used the ZTC Thunder enclosure, as it was compatible, affordable, and had good reviews. So if you aren’t sure which one to buy, that one is a safe bet. Though, no matter which one you get, once disassembled, the circuit board that the hard drive is connected to will be almost identical. First, you will want to plug the hard drive into the connector, then use the provided screw(s) and standoff to secure the SSD to the board and reassemble your enclosure.

Step Three: Cloning
This is the part where a lot of people can feel bewildered by either the complexity or cost of the available software. Yet, if you follow these instructions you should be able to complete this task for free, without a hitch.
First, you’ll need to download Macrium Reflect Free. This is available as a 30–day free trial, which includes all features necessary to clone your hard drive.
Connect your new hard drive (inside the enclosure) via a SATA to USB cable, which was probably included with your SSD enclosure.
After opening the Macrium Reflect software, you will see both your new and internal hard drive within the Create a Backup tab. You will now want to select your internal drive, titled MBR in the example image, and insure that your new hard drive is in the lower window. Now click the Clone this disk button circled in red, below.

This will open a new dialogue window. In the destination section, click the Select a disk to clone to… link and select your new SSD.
You can now drag and drop all of the partitions from your internal drive to your new hard drive, as shown by the red arrow below. Though, if there are already established partitions on your new target disk, you’ll need to select each one and click the Delete Existing partition link before you’ll be able to drag and resize partitions from the source drive.

In most cases, your new hard drive will be larger than your existing internal drive. So you will now want to use the circled icon to resize the primary partition that you’ve dragged to your new drive to fill the remaining capacity. You can do this by dragging the icon to the right until it fills the remaining space, in turn, maximizing the storage that will be at your disposal after installation. Once the partition size has been set, you can now click Ok.
You will then be shown a summary screen where you can review your settings checked that everything is in order. Once you’re finished reviewing your options, click Finish.

Depending on the amount of data on your internal drive, cloning may take awhile. I would recommend doing this when you won’t need to use your computer too heavily.
Once the cloning process is complete, continue to Part 2

